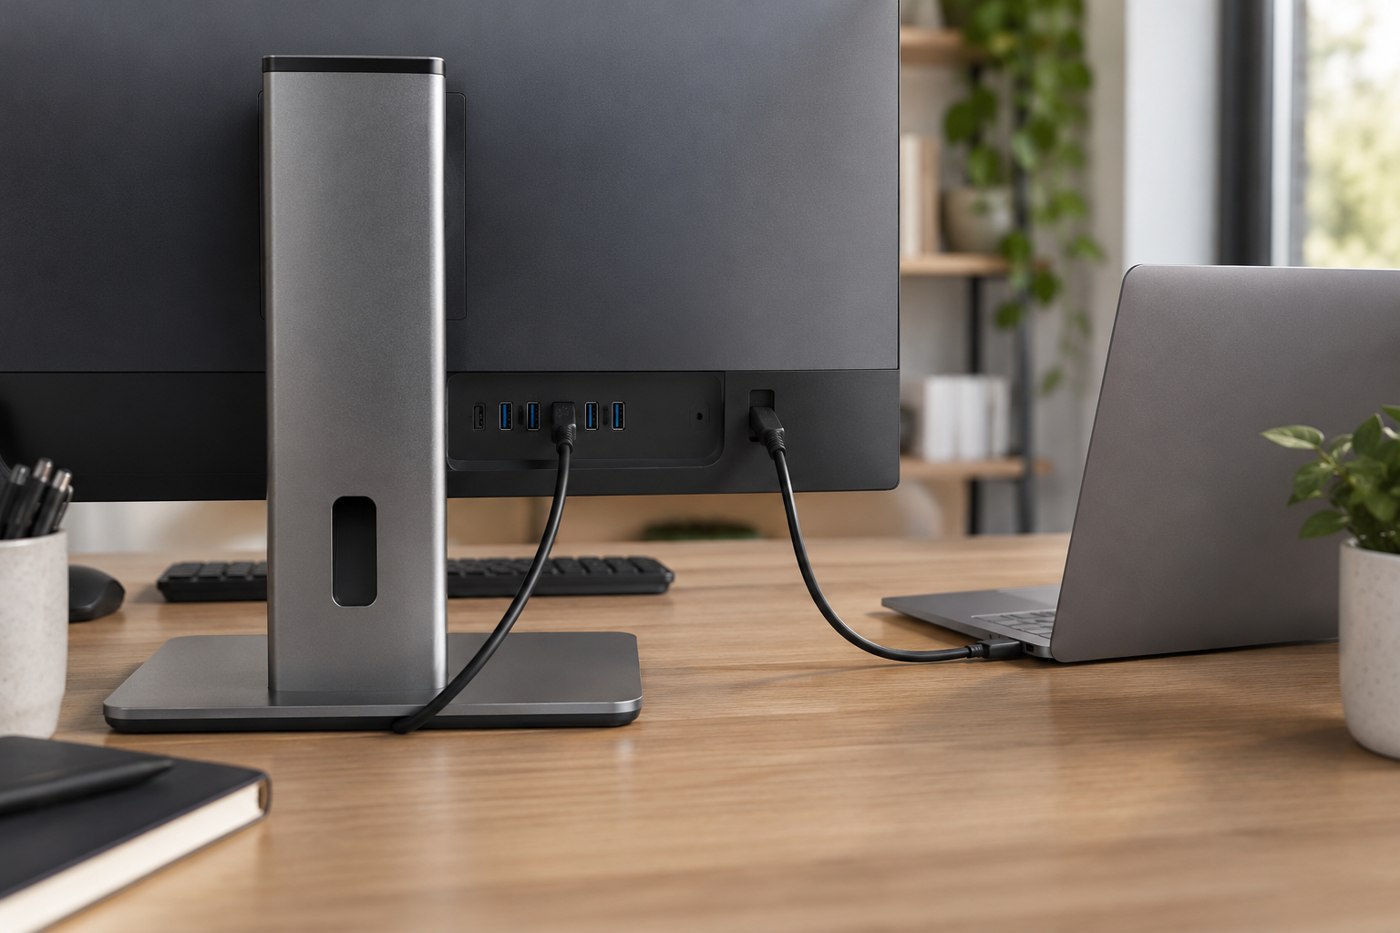
USB sockets on the side or back of a monitor can reduce the number of leads running directly to a laptop. They are useful only when you understand how the monitor's hub connects to the computer. Video appearing on screen does not automatically mean every USB peripheral socket has a data connection to the host.
Open the monitor's port diagram and find the upstream connection, which links the hub to the computer, and the downstream connections intended for accessories. Dell's C3422WE family manual, for example, identifies those roles separately. Your monitor may use a different arrangement, so follow its own diagram rather than the example's connector count.
Trace video and USB separately
If video enters through HDMI or DisplayPort, check whether a separate USB upstream cable is required for the hub. If a supported USB-C connection combines functions, read the conditions attached to that mode. Also verify which USB-C socket on the monitor is intended for the computer; another may serve a peripheral or charging function.
Connect a simple non-storage device first, such as a mouse, and confirm that the computer recognizes it through the monitor. This makes it easier to understand the route before attaching equipment used for important files or recordings.
When the picture works but the mouse does not
A common-looking scenario is a monitor displaying the laptop correctly while a mouse plugged into the monitor remains inactive. Trace the hub's upstream data route first. If video uses a separate input and the required USB upstream lead is missing, the image can work while the hub has no connection to the computer. Consult the port diagram before reinstalling a mouse driver.
If the upstream route is correct, test the mouse directly on the computer and then through a different supported downstream socket. Record the result with the monitor awake and after it sleeps. This distinguishes a peripheral problem, a connection issue and a power-state setting without changing everything at once.
For USB-C setups, check any manual notes that trade USB data capability against display modes. Do not assume a setting found in another monitor's menu exists on yours. Ask the manufacturer about the exact display and peripheral combination if the documented conditions are unclear.
When the arrangement works, label the upstream lead or retain a simple connection sketch. It is easy to remove that cable during a desk tidy-up because the video still appears, then discover the missing hub connection only when another accessory is needed.
Read the limits for your peripherals
Check the hub's documented data capability and power conditions. A socket that is convenient for a keyboard may not deliver the performance or power required by another device. If you plan to attach a camera and external drive together, test that actual combination rather than assuming several sockets operate independently at every headline specification.
Look for settings affecting USB operation when the monitor sleeps or is switched off. A phone may stop charging or a peripheral may disappear depending on the model and configuration. Decide which behaviour you need, then use the manual to establish whether it is supported.
For a monitor used with two computers, find out how the USB host is selected. Changing the video input may or may not move the hub connection with it. Test with harmless input devices before relying on a shared arrangement.
Keep the upstream cable labelled if it resembles other leads on the desk. When a peripheral stops working, checking that connection can be faster than reinstalling software or replacing the accessory. The monitor hub is a useful part of a setup once its route and limitations are clear.