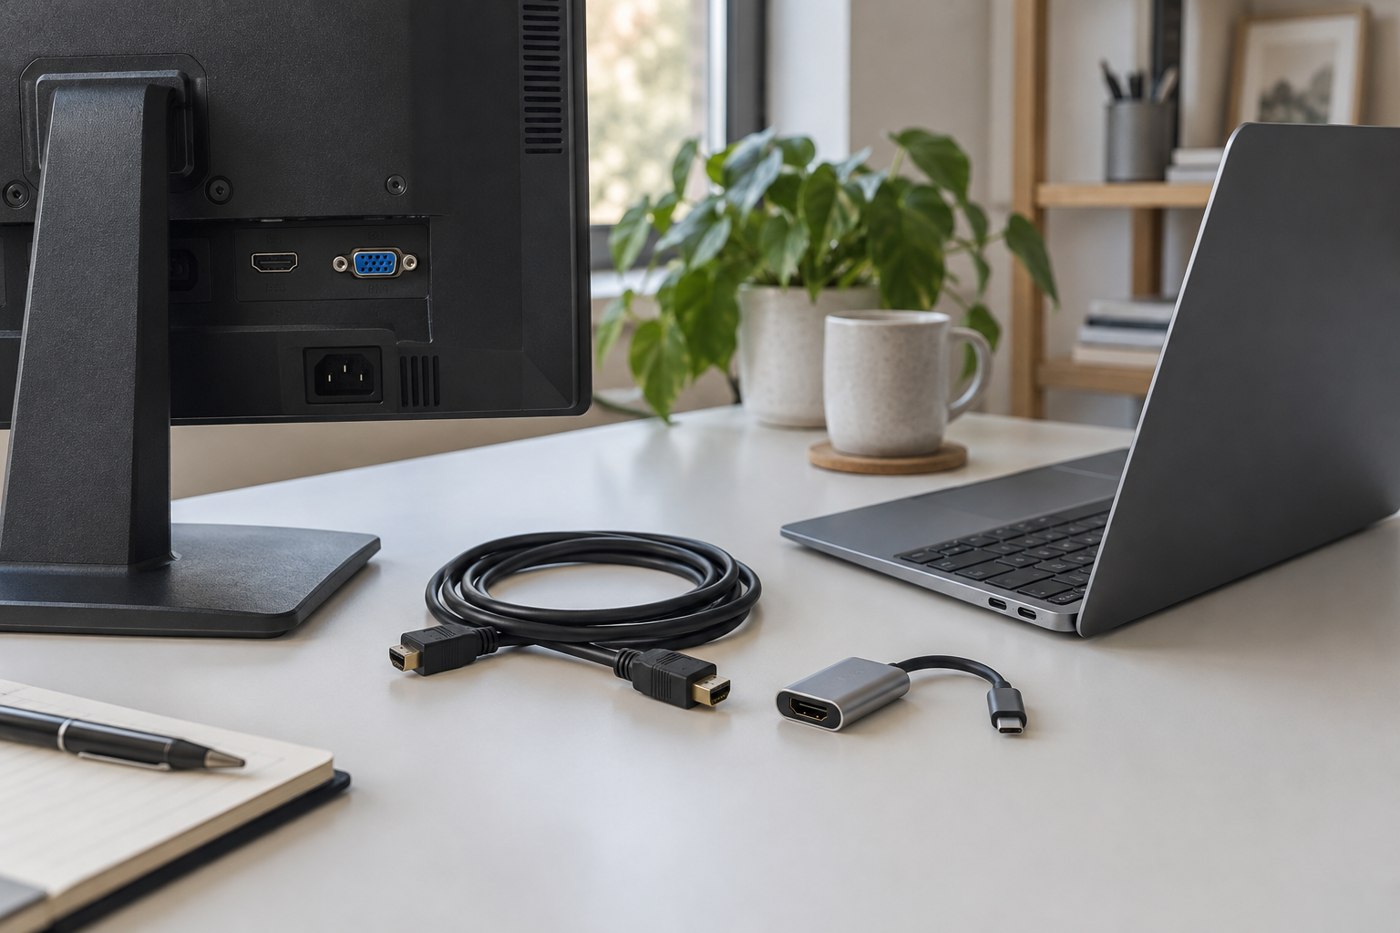
An older monitor can still be useful for documents, reference material or occasional extra screen space. Begin by finding its exact model and manual. Inspect the input labels rather than identifying a socket from memory, and note the display's supported native resolution and the inputs available for reaching it.
Then read the newer laptop's output specification. The goal is a supported path from that output to the monitor's input. A cable with two physically suitable ends may still use the wrong signal direction or require a capability the laptop does not provide.
Work out where conversion happens
If both devices have a suitable matching digital connection, a direct cable may be enough. If they use different interfaces, find an adapter whose documentation states the intended source and display types. DisplayPort's official cable guidance discusses adapters and supported connection routes; it is a useful starting point, but the individual adapter's limitations remain decisive.
Be particularly careful with older analogue inputs and with products whose listings do not state direction. A converter described for one direction should not be assumed to work backward. Check whether it needs separate power and whether its specified resolution and refresh rate cover the monitor's useful mode.
Decide what the adapter will not solve
An adapter cannot add physical screen area, remove existing panel damage or create controls that the old monitor lacks. If the stand no longer holds its position, the power supply is damaged or the image has a persistent fault, solve that issue before purchasing a connection kit.
Check sound separately. If you expect speakers in the monitor to work, identify how they receive audio. An old display may need another connection, or may have no speakers at all. Keep this requirement separate from whether the video picture appears.
A hypothetical example makes the sequence clearer. You have an older display with two inputs and a newer laptop with one documented video-capable output. First choose which monitor input supports the mode you need. Then look for a direct, explicitly supported conversion from the laptop output to that input. Do not start with an adapter already in a drawer and build a chain around it unless every stage is documented for the intended direction.
If the picture appears but text looks poor, record the selected resolution before changing anything. Try the panel's documented native mode and a sensible scale, then inspect the monitor's own image settings. If the picture disappears only after sleep, note that separately from a complete failure to connect. Those observations point support toward different parts of the setup.
Keep one known working configuration while investigating. Changing the cable, input and several display settings at once makes it hard to know what solved the problem. Restore the working arrangement between tests and keep the old equipment only if its actual behaviour is acceptable for the task you intend to give it.
Test with ordinary text
Connect according to the equipment instructions, select the appropriate monitor input and inspect the operating system's display settings. Use a document with small text and a few straight lines. Confirm that the selected resolution suits the panel, then try your preferred scaling rather than accepting an oversized or blurry desktop as inevitable.
If the total adapter arrangement becomes expensive or cumbersome, compare that cost with the value of keeping the display. For a screen used only a few times a month, a verified simple connection may be enough. For daily work, repeated reconnection problems and missing features can make a different monitor the more useful purchase.