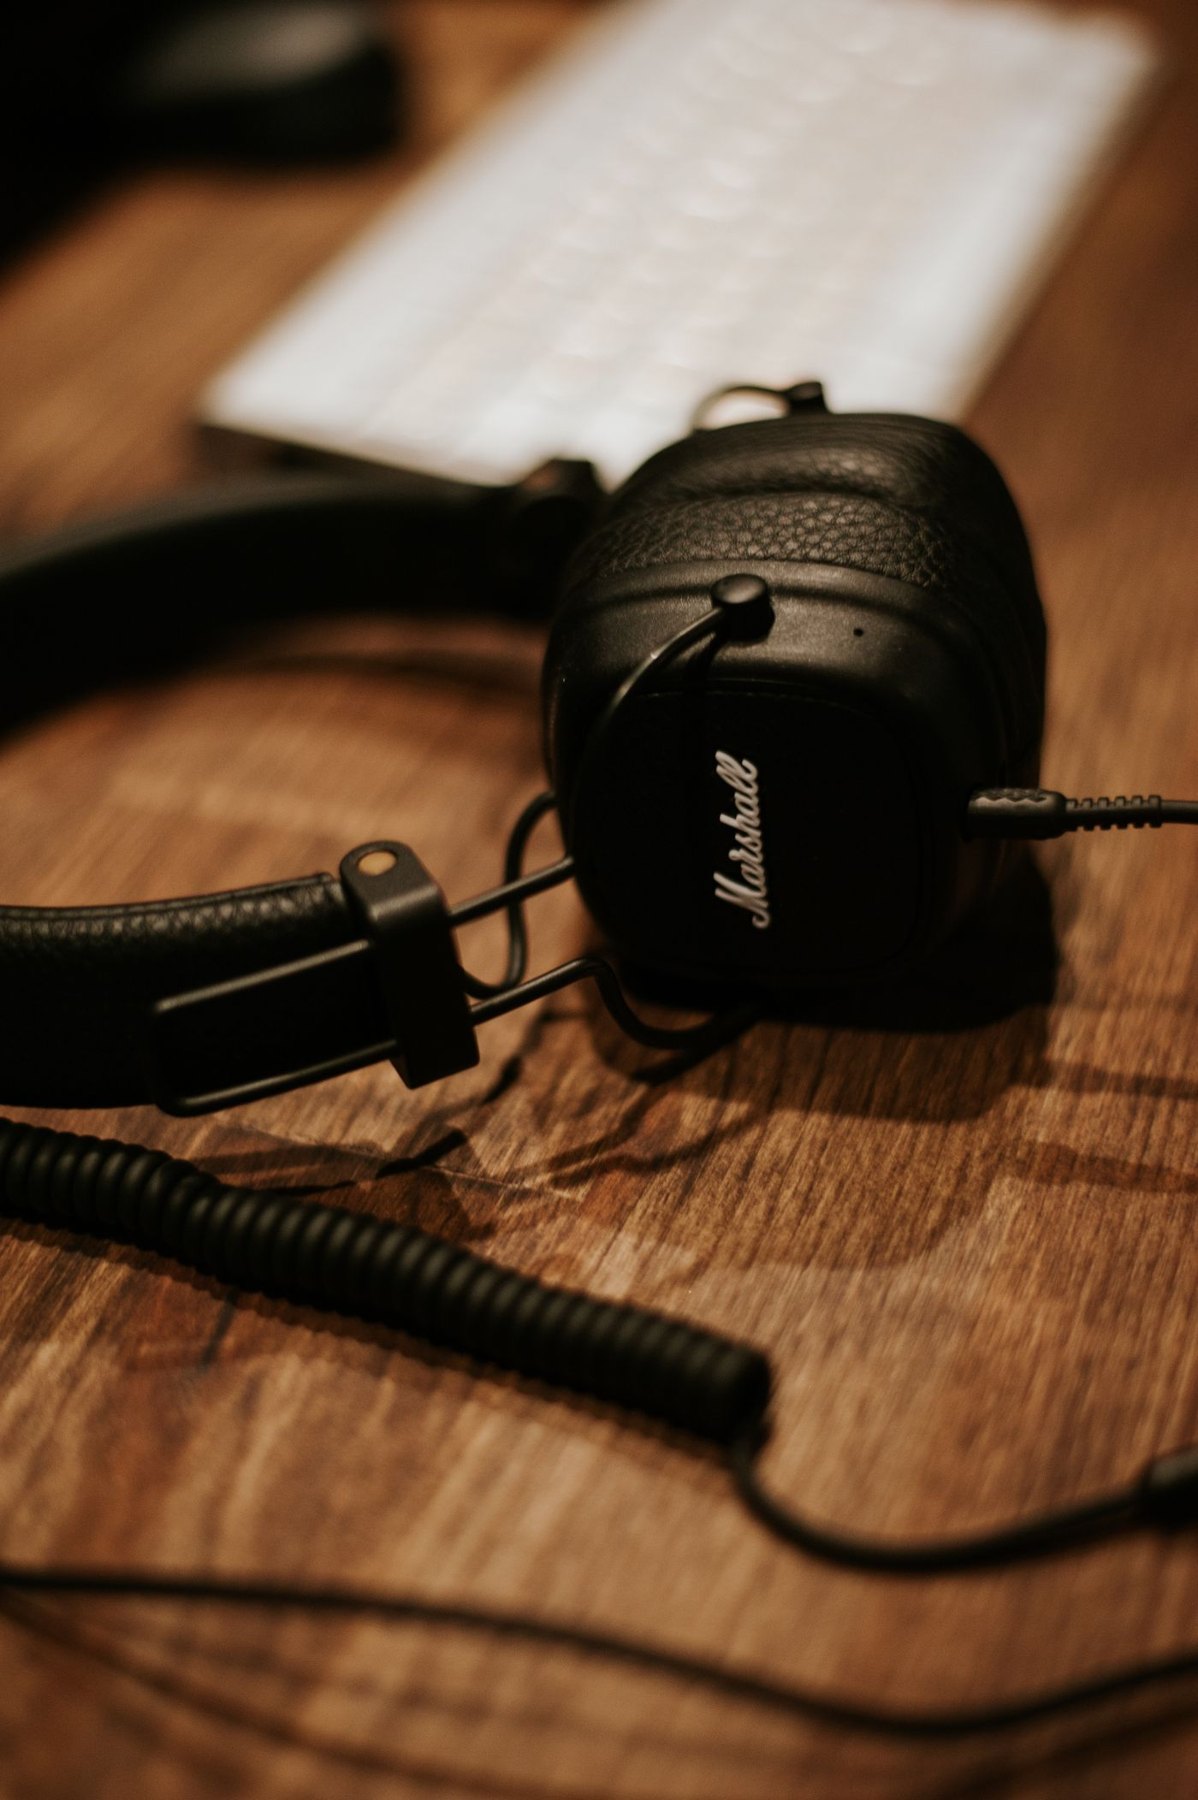
A detachable headphone cable is replaceable only with a suitable cable. Start with the exact headphone model and the manufacturer's replacement part information. The visible plug diameter may omit a locking mechanism, a recessed housing or a wiring arrangement that determines compatibility.
Shure's SRH440A guide, for example, names a specific bayonet headphone cable. That is a reminder to check the fitting, not a suggestion that all headphones from the brand or all 3.5 mm cables share it. A plug that seems almost right should not be forced or modified to fit.
Compare both ends
Identify the headphone-side connector and the source-side connector separately. Some headphones use one connection into a cup; others use a lead to each side. Check left and right markings, the shape of the plug housing and any twist-lock instruction.
At the source end, establish whether the cable is intended for a standard headphone output, a headset connection or a specific balanced output. These arrangements are not interchangeable simply because adapters are sold for similar-looking plugs. Use a cable explicitly supported by the headphone and output-device manufacturers.
Keep the functions you need
If the original cable includes a microphone, volume control or remote button, check whether the replacement preserves those functions with your phone or computer. A plain audio cable may restore listening while removing call controls. Decide whether that is acceptable before ordering.
Choose length around the actual route. A desk cable needs enough reach to avoid tension when you turn, but a long coil can be inconvenient in a travel pouch. Check whether the lead's weight or a bulky inline control pulls at the ear cup in your normal position.
Confirm that the cable is the problem
If possible, test the headphones with a known compatible source and inspect the original lead for obvious wear. An intermittent socket fault can resemble a cable problem. Avoid repeatedly bending a damaged area while wearing the headphones to provoke the fault.
After installing the replacement as instructed, begin at a low output level and check both channels, controls and microphone where applicable. Move normally and confirm the plug remains seated. Keep the part number with your equipment record so the next replacement starts with a verified specification rather than another visual guess.