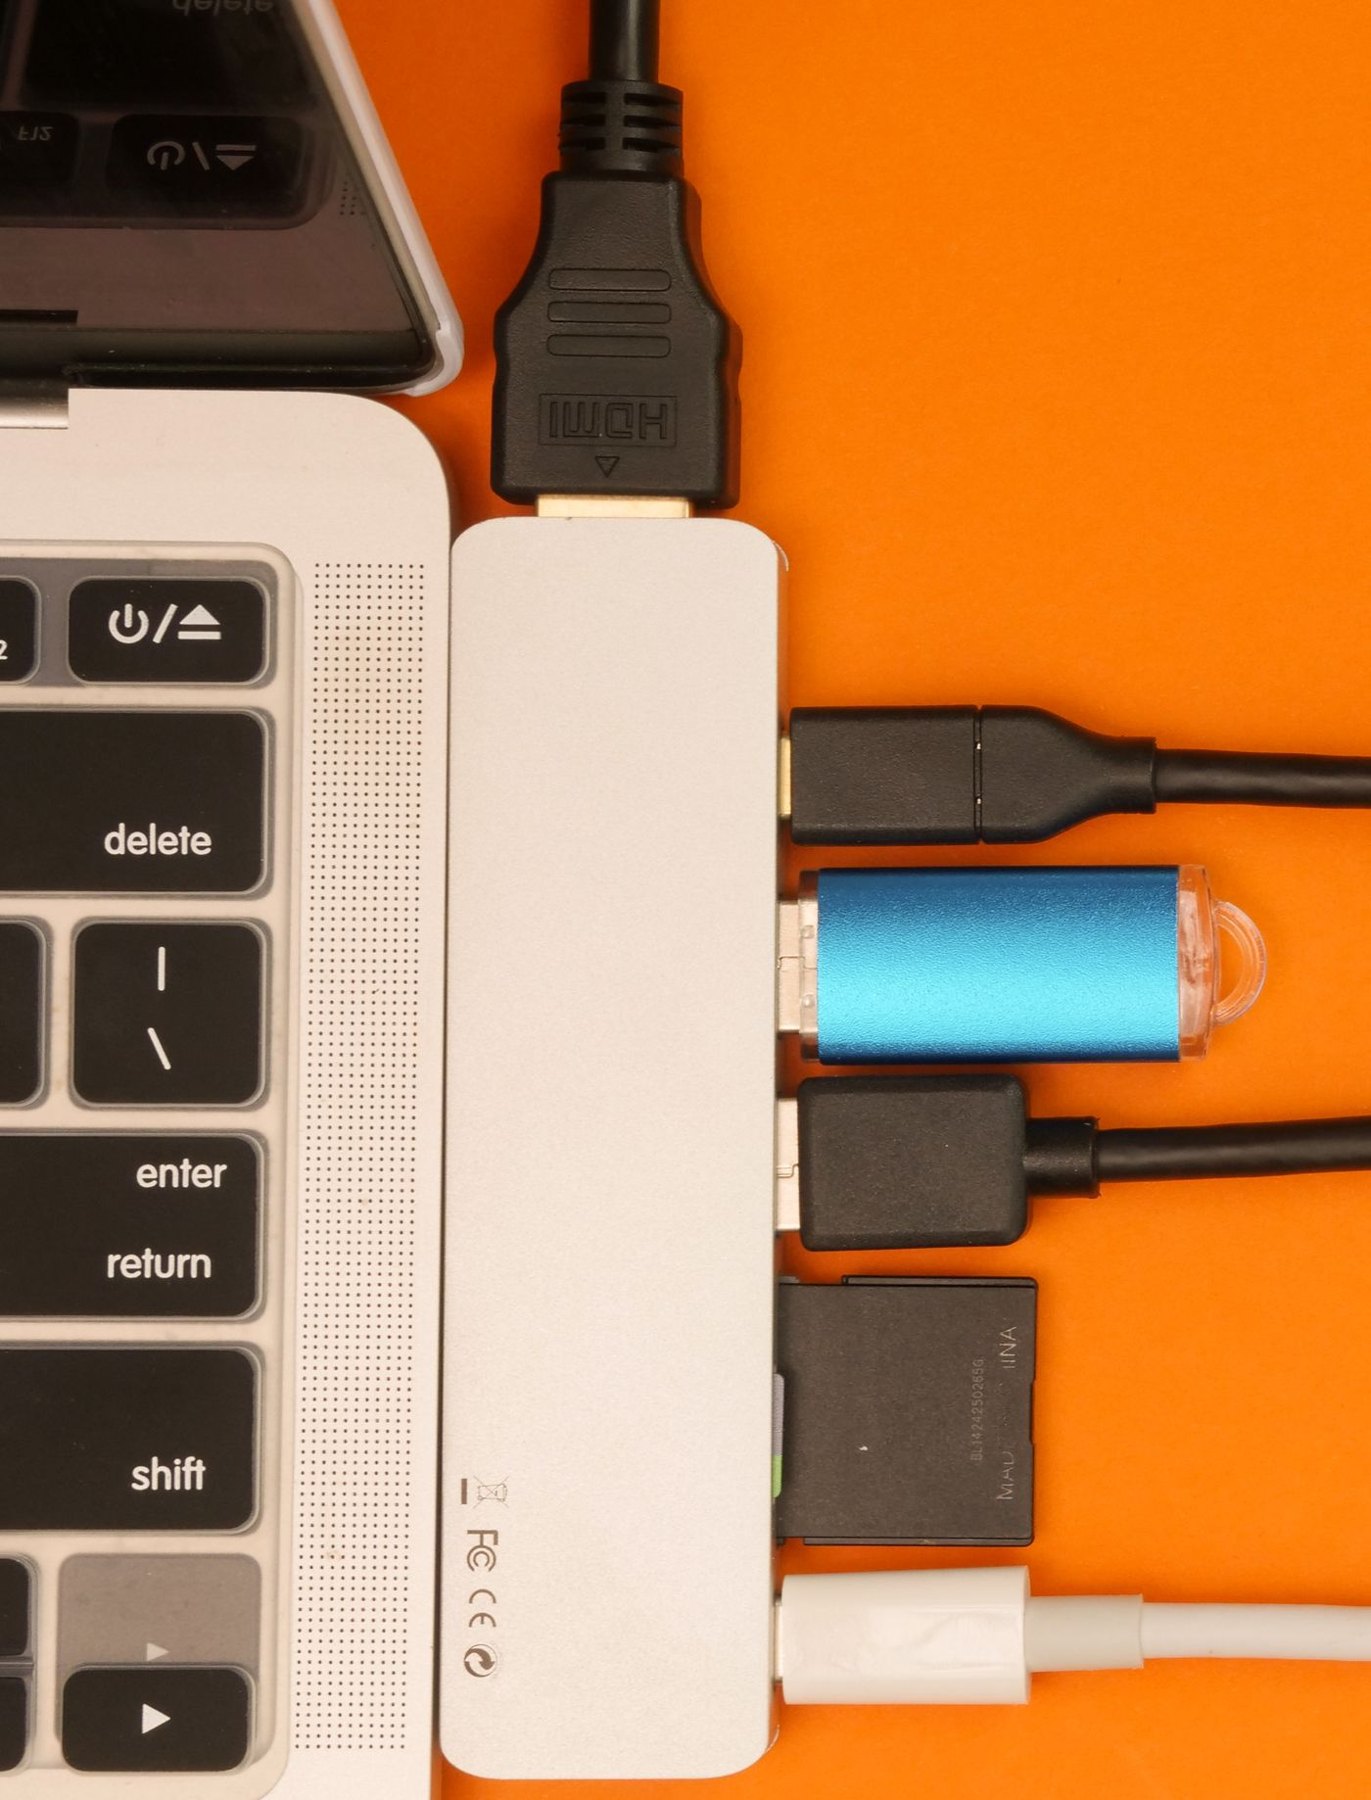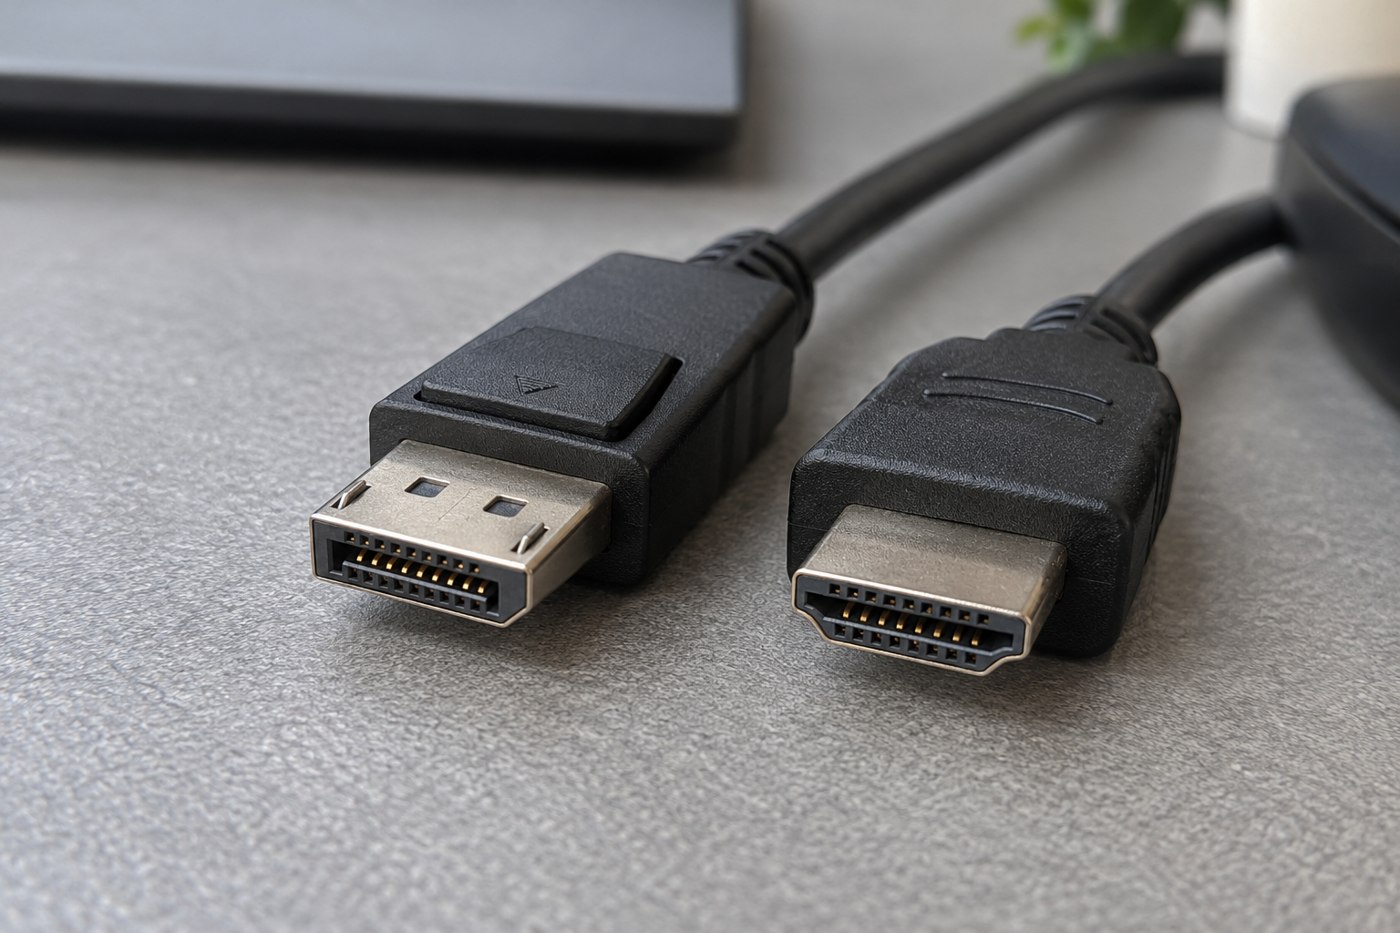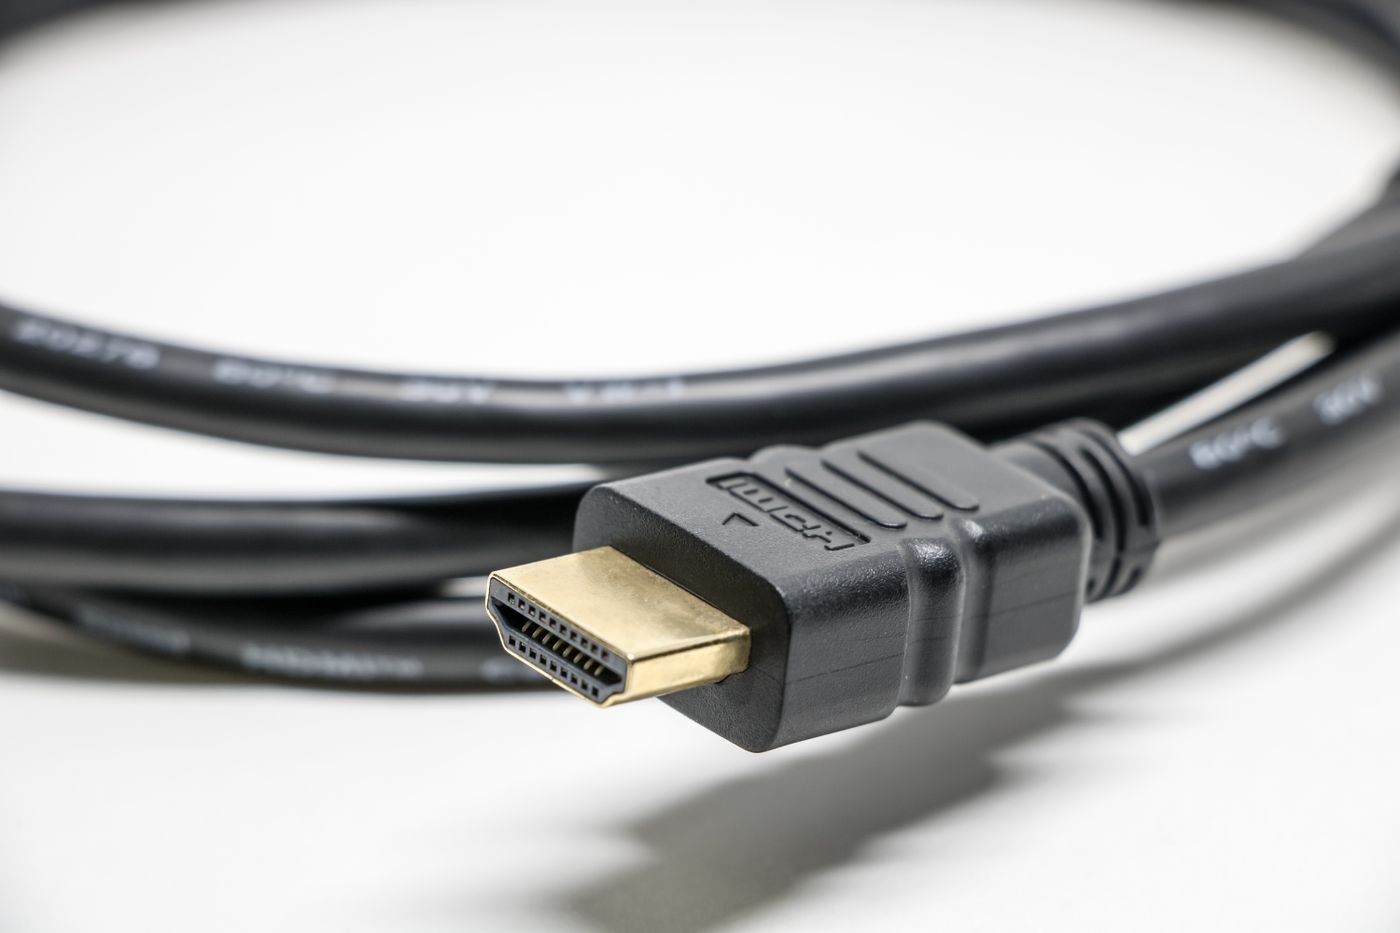
Start by writing down the source device, display and mode you want to use. Resolution alone may not describe the whole requirement; refresh rate and supported features can also matter. Read the equipment documentation before selecting a cable from a broad phrase such as gaming or cinema.
HDMI Licensing Administrator publishes descriptions of cable categories and certification programs. Use those official category names and the manufacturer's specific cable information rather than treating a version number in a marketplace title as the complete answer.
Confirm the selected length
Measure the route with enough slack for ordinary movement and access. Then check the specification for that exact length and model. A product family can include several variants, and the evidence for one should not be assumed to apply to every option on the page.
If a cable is directional, follow its source and display markings. Do not hide it behind furniture before testing the orientation. Keep any power or installation requirements from the manufacturer with the purchase information.
Check the whole connection
The source port and display input must also support the mode you want. A cable cannot add a feature missing from either device. If an adapter, switch or receiver sits between them, include that equipment in the compatibility check instead of evaluating only the cable.
After connecting, confirm the active display mode through the platform or screen settings where available. Seeing a picture is useful, but it does not prove that the intended refresh rate or other feature is active. Use a familiar task to check ordinary behaviour without presenting an informal observation as a certified performance test.
Resolve an issue before routing permanently
Test the straightforward connection described by the equipment makers. If the picture is unstable or a mode is unavailable, compare the settings and documented limits before buying a more expensive cable. Change one item at a time so you can tell what affected the result.
Keep the cable's model information and any certification verification result where you can find it. Once the arrangement is working, route the lead without sharp bends or strain on the connectors, following the manufacturer's instructions. The useful cable is one that supports the intended connection reliably, not simply the one with the most impressive packaging.
Check the selected mode after installation
A system may show an image using a mode different from the one you intended. Open the supported display settings and note the active resolution and refresh rate. Compare them with the monitor input's documentation and the source output's capabilities. If a desired option is absent, investigate those limits and any intermediary equipment before treating the cable as the only possible cause.
Use the same display input when comparing cables, where the setup permits. Changing the cable and input together makes the result harder to interpret because the inputs may have different documented capabilities. Keep a known working arrangement available while testing, particularly if the display is needed for work immediately afterwards.
For a cable routed through furniture, leave temporary access until the configuration is verified. It is easier to check a connector and read a model label before fastening the entire route. Once the task works as documented, secure the cable in a way that preserves the manufacturer's bending and handling guidance. A tidy installation should not make future troubleshooting require moving every piece of equipment.