A USB microphone can simplify a single-person recording setup, but its usefulness depends on where you can place it and how your applications recognize it. Start with the computer or tablet you intend to use. Verify the exact operating-system and device compatibility in the manufacturer's documentation, including any adapter or software requirement.
The desk arrangement matters before the sound specifications. A microphone placed beyond the keyboard because its stand is too large may pick up a different balance of voice and room sound than one placed in its intended speaking position. Look at the support's dimensions and the cable exit while planning the purchase.
Find the speaking side
Microphones can be designed to receive speech from the end or the side. Read the model's diagram instead of copying the orientation of another microphone in a video. Shure's MV7 guide is an example of model-specific positioning and USB setup guidance; its instructions should not be generalized to every desktop microphone.
Consider how you move while speaking. If you turn toward a second screen or lean back to read, test that movement during a sample recording. A sound that works only when you remain unnaturally still may not suit ordinary meetings.
Controls should have a clear purpose
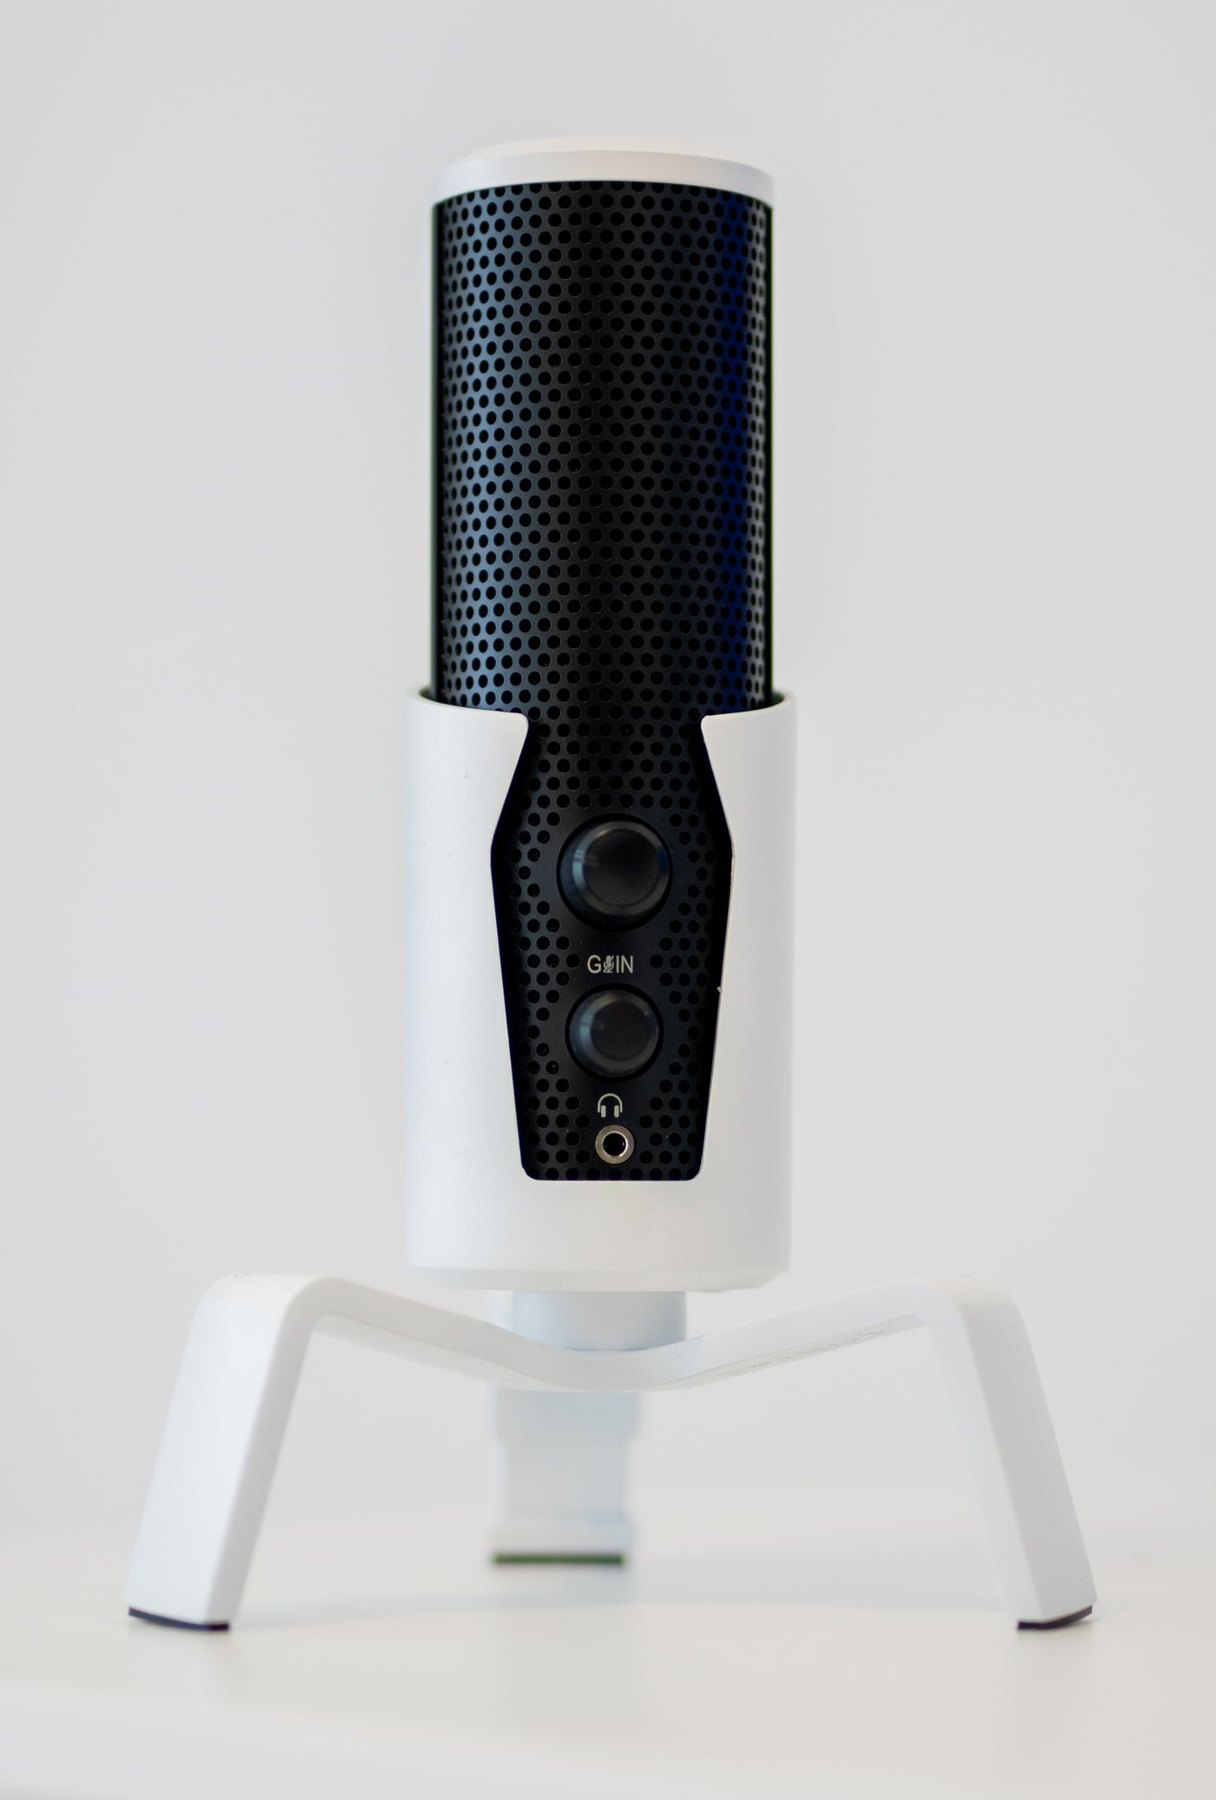
Check whether the microphone has a physical mute control and how its state is indicated. Determine whether it mutes the device signal or interacts with particular conferencing software. A glowing button is useful only when you understand what it means in the application you use.
If you want to hear your own voice while recording, look for a documented headphone monitoring function. Confirm whether the headphone socket can also play computer audio and how the two are balanced. Do not assume every socket on a microphone behaves the same way.
A desk-specific comparison
Imagine two suitable USB microphones: one has a compact integrated stand and the other needs a separate support to reach the intended position. Include that support in the comparison. The first may fit beside a laptop immediately, while the second may require an arm, clamp clearance and a cable route. A lower microphone price does not necessarily mean a smaller or simpler complete setup.
Try a recording with the microphone in the location you can actually maintain. Read a paragraph, glance at a second screen and type a brief note. Compare whether the voice stays consistent enough for your purpose and whether the support transmits distracting desk movement. Do not move the microphone into an unrealistic demonstration position solely to obtain a better sample.
If recordings sound correct but a call sounds different, inspect the meeting program's selected input and processing. If neither application receives sound, check the system input and permission path. These observations distinguish placement and software issues from a reason to replace the microphone.
A useful purchase note therefore includes supported host, required support, accessible mute, monitoring needs and the result of the actual desk trial. It is more informative than comparing only resolution or sampling figures that may have little bearing on ordinary speech calls.
Test calls and recordings separately
Select the microphone explicitly in the system and application. Make a short recording with normal speech, a pause and some typing, then listen back through familiar headphones. Set the input level according to the device instructions and watch for overload rather than increasing it until every small room sound becomes prominent.
A meeting application may apply processing that differs from a recording program. Try both if both are part of your routine. Check reconnection after sleep and whether the chosen input remains selected. Keep the supplied cable with the microphone until you have confirmed any replacement supports the required connection. A dependable everyday setup is more valuable than controls or specifications you cannot use in your actual applications.