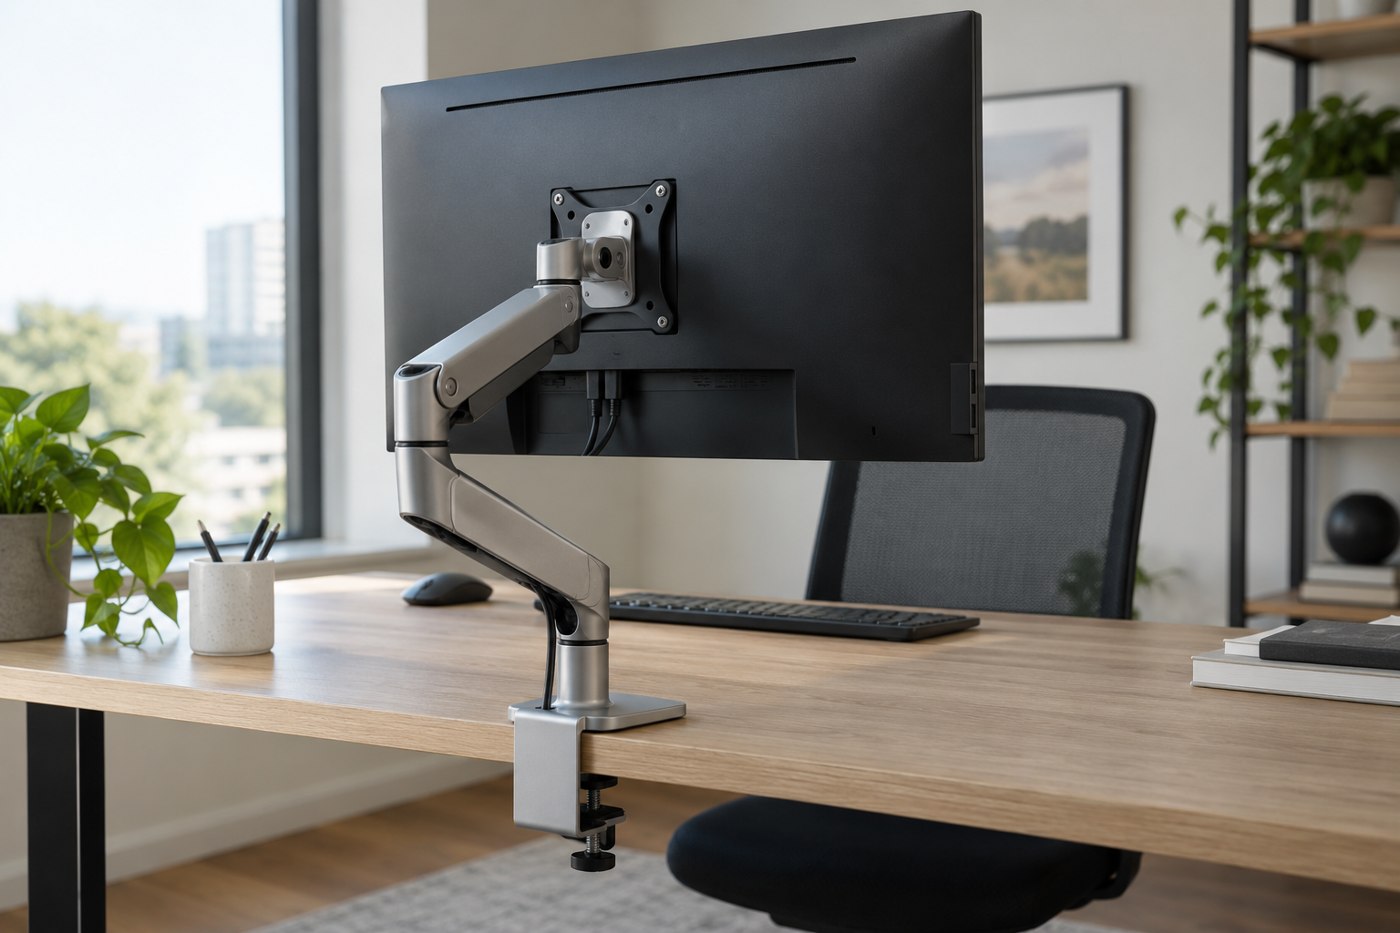
A monitor arm transfers the screen's load to a small part of the desk. The monitor's diagonal is therefore only a starting point. You need the screen's mounting interface and weight without its original stand, the arm's supported range, and a desk surface suitable for the chosen attachment.
Find the monitor manual before removing anything. Confirm that the stand is intended to be removable and that the rear mounting holes match a supported pattern. Recessed holes, a curved rear shell or nearby sockets can require specified hardware. Use the screw dimensions and installation method in the instructions; longer screws are not a universal solution to an awkward fit.
The arm has a minimum as well as a maximum
Some adjustable arms specify a load range. A screen that is too light can be a problem for a counterbalanced design just as one that is too heavy can. Ergotron's arm-selection guidance also treats mounting compatibility and weight as separate checks. Match the exact monitor and arm, including any adapter or accessory contributing to the load.
Screen depth matters too, especially with a large curved model whose centre of mass sits farther forward. Where a manufacturer provides a compatibility finder or a specific heavy-screen requirement, use it. Do not replace an explicit restriction with an estimate based only on the screen's weight.
Inspect the underside of the desk
Measure the edge thickness where a clamp would actually sit. Look underneath for a frame, drawer, bevel or cable tray that blocks the clamp plate. A desk that looks solid from above may have a hollow construction or a surface that its manufacturer does not permit you to clamp. Check both the desk and arm instructions before buying reinforcement accessories.
For a grommet mount, establish whether there is an appropriate existing opening and whether the desk allows that installation. Do not drill merely because the arm includes a grommet option. If the attachment cannot be verified, a suitable freestanding support may be the more straightforward choice.
A useful pre-purchase check uses a cardboard shape representing the screen and a measured line representing the arm's reach. Hold the shape only as a space-planning aid; it is not a load test. Try the normal seated position, the parked position and any portrait rotation. You may discover that a wall blocks the joint before the screen reaches the centre of the desk, even though every weight and mounting specification matches.
Consider how installation will happen as well. A large monitor can be awkward to hold while aligning a mounting plate. Follow the manufacturer's recommendation for assistance and support the screen using its permitted handling method. Prepare the tools and clear surface before removing the original stand, so the panel is not left leaning against another object while you search for a screw.
If the desk is shared, record the permitted adjustment range and show other users how to move the screen by the appropriate part. People should not pull on a cable or use the monitor as a handle to move the table. Good compatibility includes an installation that other users can operate normally, not only one that the person who assembled it understands.
Make room for movement
Sketch the arm's reach at the back and sides of the screen. A desk against a wall may not leave room for an elbow joint to fold. Check that rotation does not hit a shelf or lamp and that the screen can reach the working position without sitting too close.
After installation according to the manual, guide the screen through its intended range while checking every cable. Leave enough slack for movement without creating a hanging loop that catches on the chair. Keep the original stand and labelled hardware if you may move the display later. A compatible arm should make the screen easier to position while remaining within the support system's documented limits.