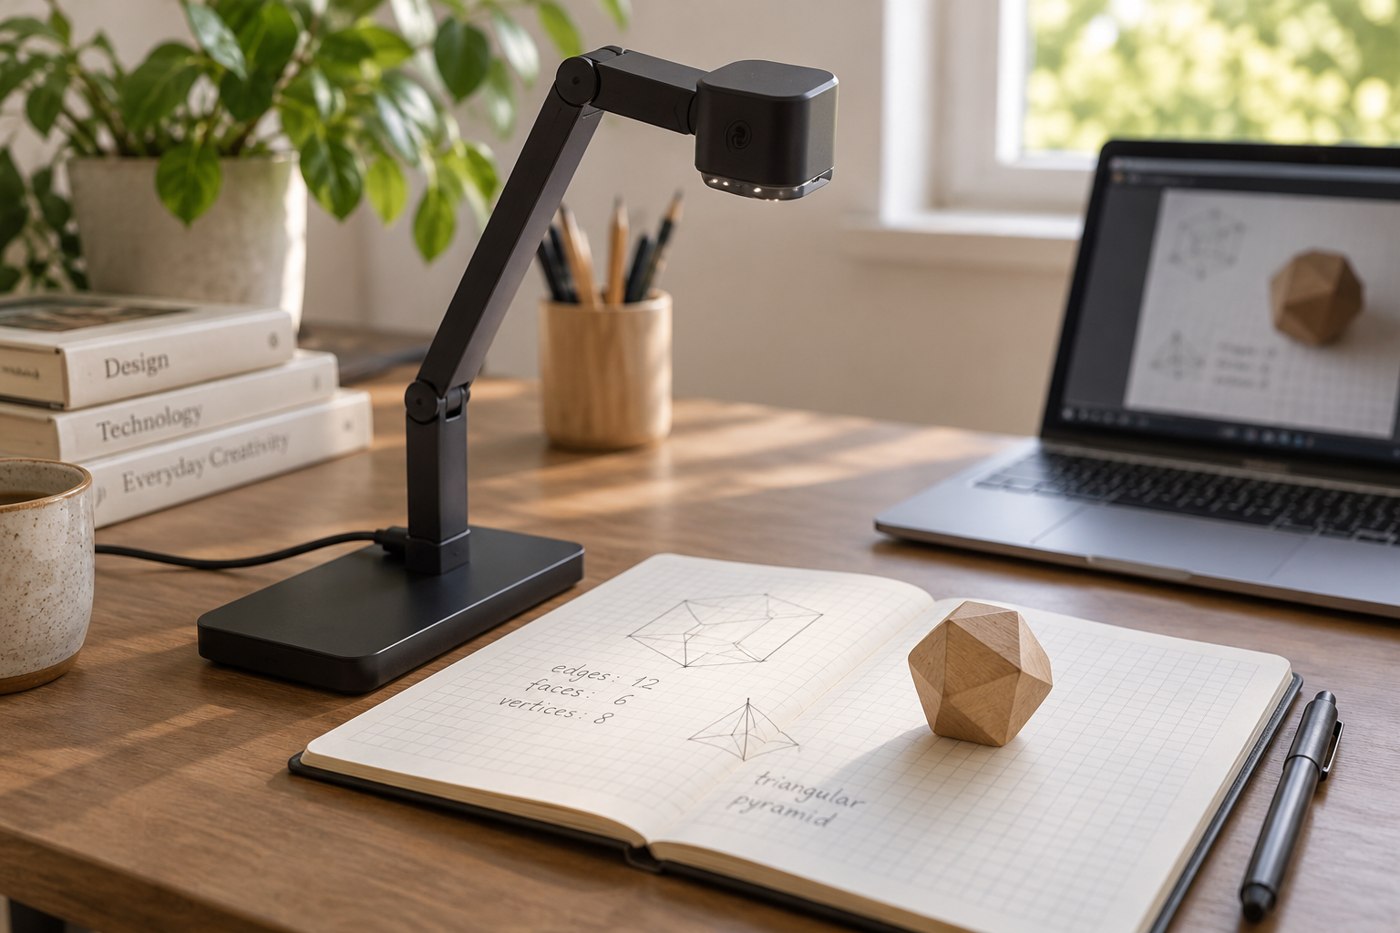
A document camera is useful when the subject is on the desk rather than on the computer screen. The right model depends on whether you show full pages, handwritten calculations, small components or objects with height. Bring that subject into the comparison instead of choosing on megapixels alone.
Define the working area
Measure the largest item you need to show and leave room for your hands around it. Look at the camera's documented capture area and the height required to achieve it. A camera may capture a full sheet only when its arm extends into space occupied by a shelf or monitor.
For objects rather than flat paper, consider where the lens can point and how close it can focus. An articulated arm offers different possibilities from a fixed vertical support. Check whether repositioning the camera also moves its base into the area where you work.
A handwritten lesson offers a useful trial. Put a full sheet under the camera, write near each edge, and then move a small object into the centre. Check whether the camera needs to be raised to include the page and lowered again to show the object clearly. If those changes are frequent, accessible controls and a stable arm may matter more than the maximum still-image size.
For showing an object with height, inspect whether the upper part stays in frame and whether your hand obscures it when turning it around. A camera directly above a flat page may not be the best angle for demonstrating a side connector or a mechanical detail. Try the actual viewpoint rather than expecting one overhead position to explain every object.
Record or share a short sample and review it at the size a viewer will normally see. Fine detail visible in your local preview can become less useful after the meeting application's scaling and compression.
Focus should support the demonstration
Autofocus can be useful when subjects change, but repeated refocusing may distract viewers when your hand crosses the image. Look for documented focus control or a lock if your task benefits from it. IPEVO's CamControl guidance notes that available adjustments depend on the connected model, which is a reason to verify the exact camera rather than assuming one software screenshot applies to all of them.
Test writing or moving an object, not just a static page. Watch whether fine marks remain visible and whether your hand casts a shadow. Glossy packaging and white paper can create different exposure problems, so use representative materials with no private information.
Confirm the path into the meeting
Decide whether the camera must appear directly as a video device, be shown through a capture application, or connect to another display. Verify the relevant connection and operating-system support. A camera's still-image resolution does not necessarily describe the video mode available in your meeting application.
Check rotation and mirroring using a page with a few large words. Your own preview may differ from what another participant sees. A short test call with a willing colleague can reveal whether the final shared image is readable without making the first real demonstration an experiment.
Include the camera's footprint, cable and storage position in the decision. A device that folds neatly but needs a long setup sequence may be less suitable for frequent short explanations than one that can remain ready at the side of the desk.